Quick & Easy Grilled Tri-Tip Recipe: Perfect for Busy Weeknights
Tired of the same old weeknight dinners, but short on time? Imagine a steak so tender you can cut it with a fork, bursting with savory flavor, and achievable with minimal fuss. That’s the magic of grilled tri-tip! Often hailed as an underrated cut, tri-tip steak is a game-changer for families and hosts alike, offering premium taste without the premium price tag. If you've been wondering
how to grill tri tip recipe for a quick and satisfying meal, you're in the right place. This guide will walk you through a fool-proof method to achieve a perfectly juicy and tender tri-tip every time, making it an ideal choice for even your busiest evenings.
What is Tri-Tip and Why is it Perfect for Grilling?
Tri-tip, sometimes known as a "triangle roast" or "Santa Maria steak," is a distinctive cut of beef taken from the bottom sirloin. Its name perfectly describes its shape: a small, triangular muscle with excellent marbling and a rich beefy flavor. What makes it so perfect for grilling, especially when time is of the essence?
First, its size. While larger than individual steaks, it's smaller than a full roast, allowing it to cook relatively quickly on high heat while still feeding a family. Second, its natural tenderness and flavor profile mean it doesn't require extensive marinating to taste incredible, although a quick rub or marinade certainly enhances it. Lastly, tri-tip is remarkably versatile. It's often more budget-friendly than cuts like ribeye or New York strip, yet delivers a comparable (if not superior) grilled steak experience. It's truly one of the best inexpensive steaks for grilling your family will love. Because there’s only one tri-tip cut on each side of beef, it can sometimes be difficult to find, so make sure to grab one whenever you see it! For more insights into this incredible cut, explore
The Underrated Tri-Tip: Grill The Best Inexpensive Steak For Your Family.
Mastering the Art of Grilling Tri-Tip: A Step-by-Step Guide
Grilling tri-tip is a straightforward process, but a few key steps ensure spectacular results. Our goal is to achieve a beautiful sear on the outside while keeping the inside perfectly juicy and cooked to your desired doneness.
Preparation is Key
Before your tri-tip even touches the grill, a little preparation goes a long way:
1.
Bring to Room Temperature: This is a crucial step often overlooked. Remove your tri-tip from the refrigerator about 30-60 minutes before grilling. Allowing it to come closer to room temperature ensures more even cooking from edge to center, preventing a cold, undercooked middle and an overcooked exterior.
2.
Pat Dry: Use paper towels to thoroughly pat the entire surface of the tri-tip dry. Excess moisture on the surface will steam rather than sear, hindering the formation of that delicious, crispy crust.
3.
Season Generously: This is where the flavor truly begins! You have a couple of fantastic options:
*
The Savory Dry Rub: For a quick weeknight option, a robust dry rub is ideal. A fantastic blend includes salt, coarse black pepper, a pinch of cayenne pepper for a subtle kick, granulated garlic, granulated onion, and just a touch of sugar. The sugar helps create a beautiful caramelization on the exterior. Rub this blend all over the steak, pressing it firmly to ensure it adheres. Don't be shy; cover as much of the beef as possible!
*
The Quick Marinade: If you have a few extra hours (or can prep in the morning), a simple marinade can infuse deep flavor and tenderness. A classic blend combines ¼ cup soy sauce, ¼ cup olive oil, 2 tablespoons water, 2 cloves minced garlic, and ground black pepper to taste. Place your tri-tip (whole or sliced into ½-inch pieces for faster cooking) in this marinade, cover, and refrigerate for at least 4 hours. This method works wonders for incredibly tender, flavorful results.
Grill Setup and Cooking
Proper grill setup is essential for achieving the perfect crust and internal doneness.
1.
Preheat Your Grill: Get your outdoor grill screaming hot. You want high heat to create that coveted sear. Aim for a temperature around 450-500°F (230-260°C). Lightly oil your grates to prevent sticking.
2.
Initial Sear (Fat Side Down): Once your grill is preheated and your tri-tip is seasoned, place the steak on the grill, *fat side down*. This allows the fat to render and crisp up, imparting incredible flavor. Sear for about 5-7 minutes.
3.
Flip and Continue Grilling: Flip the tri-tip and continue to grill, turning every 3-5 minutes, until it reaches your desired internal temperature. Use a reliable instant-read meat thermometer inserted into the thickest part of the meat (avoiding bone or gristle) to monitor doneness.
*
Rare: 125-130°F (52-54°C)
*
Medium-Rare: 130-135°F (54-57°C) – *Often recommended for tri-tip for optimal tenderness.*
*
Medium: 135-140°F (57-60°C)
*
Medium-Well: 140-145°F (60-63°C)
Remember that the internal temperature will continue to rise by 5-10 degrees Fahrenheit after it's removed from the heat (carryover cooking). So, pull it off a few degrees *before* your target. The narrower tip of the tri-tip will cook faster and be more done, which is perfect if some family members prefer their steak cooked a little more. For a comprehensive guide to perfect grilling, see
Achieve Juicy & Tender Tri-Tip Every Time With This Easy Grill Guide.
Resting and Slicing for Perfection
These two steps are critical for maximum juiciness and tenderness.
1.
Rest Your Steak: Once your tri-tip reaches your desired internal temperature, remove it from the grill and place it on a cutting board. Tent it loosely with foil and let it rest for at least 10-15 minutes. This allows the juices, which have been pushed to the center by the heat, to redistribute evenly throughout the meat, resulting in a much juicier steak. Skipping this step will cause all those delicious juices to run out onto your cutting board.
2.
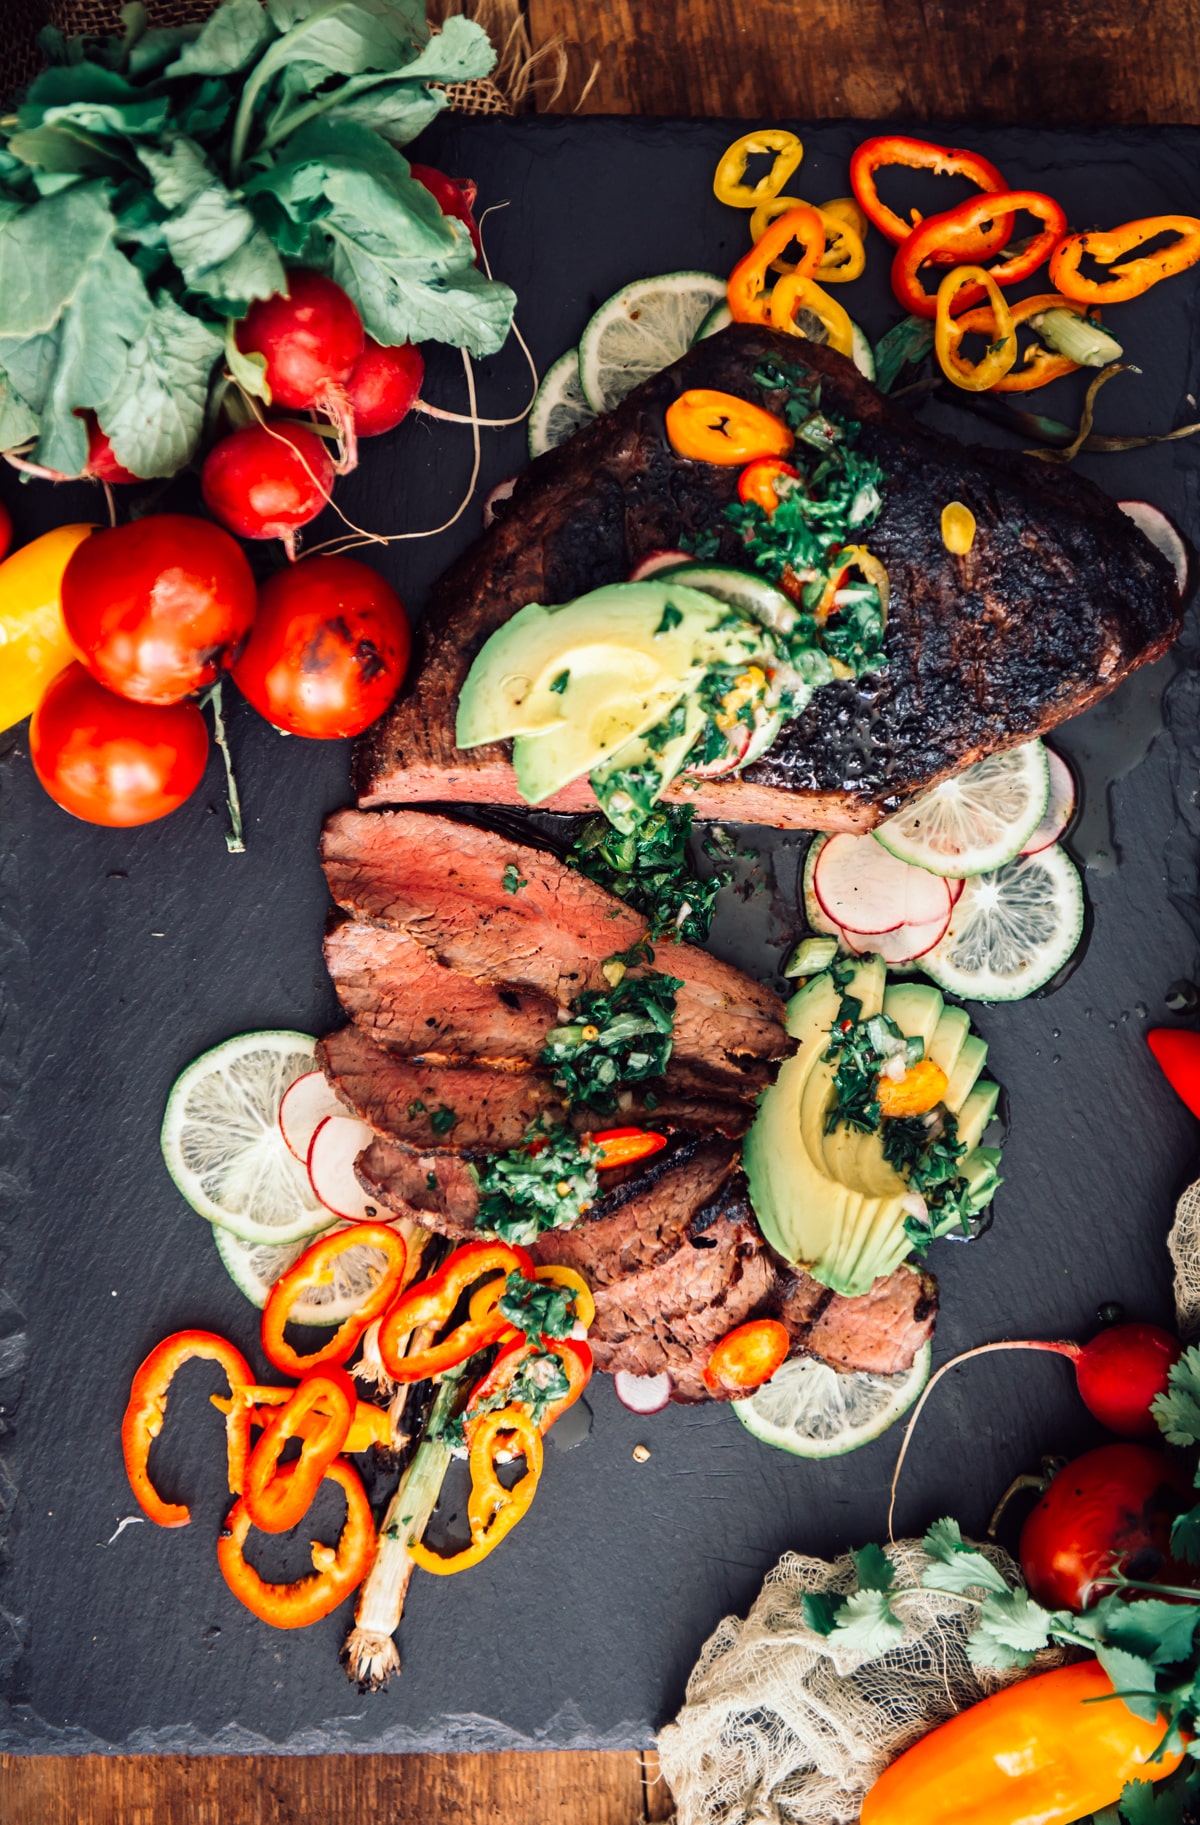
Slice Against the Grain: Tri-tip has a unique grain structure that changes direction in the middle of the cut. To ensure maximum tenderness, it’s absolutely essential to slice against the grain. Look closely at the muscle fibers and slice perpendicular to them. For tri-tip, this typically means slicing the narrower end against the grain, then rotating the larger portion to slice its distinct grain. Slicing with the grain will result in tough, chewy bites, even if perfectly cooked.
Quick Weeknight Pairings for Your Grilled Tri-Tip
One of the best things about grilled tri-tip is its versatility. Its robust flavor pairs well with an incredible array of side dishes, making it easy to create a delicious meal with whatever you have on hand. For a busy weeknight, consider these effortless pairings:
*
Simple Steamed Vegetables: Buttery steamed green beans, sautéed zucchini, or quick-blanched asparagus are healthy, fast, and complement the steak beautifully.
*
Roasted Root Vegetables: While they take a little longer, tossing potatoes, sweet potatoes, or carrots with olive oil and spices (like garlic and paprika) and roasting them while the steak rests is largely hands-off. Salt Potatoes are also a fantastic choice.
*
Quick Salads: A fresh garden salad with a light vinaigrette, or a simple Caprese salad, provides a refreshing contrast to the rich meat.
*
Easy Grains: A quick rice pilaf, quinoa, or even instant mashed potatoes can be whipped up in minutes and provide a satisfying base for your steak.
*
Corn on the Cob: A classic summer side that grills up quickly alongside your steak, or can be boiled/steamed indoors.
Tips for Grilling Tri-Tip Like a Pro
*
Invest in a Good Thermometer: An instant-read meat thermometer is your best friend. It takes the guesswork out of grilling and ensures perfect doneness every time.
*
Don't Overcrowd the Grill: Give your tri-tip enough space on the grates for proper air circulation and even cooking. If you have multiple pieces, grill in batches if necessary.
*
Clean Grates are Happy Grates: Always start with clean grill grates to prevent sticking and transfer of old, burnt flavors.
*
Consider a Two-Zone Fire: For thicker tri-tips, you might set up your grill with a direct heat zone and an indirect heat zone. Sear the tri-tip over direct high heat, then move it to the indirect side to finish cooking through to your desired temperature without burning the exterior. This offers more control.
*
Be Patient with Resting: We can't stress this enough – resist the urge to cut into that steak immediately! Resting is non-negotiable for a juicy result.
Conclusion
Grilling tri-tip is an incredibly rewarding experience, offering a juicy, flavorful, and fork-tender steak that’s perfect for any occasion, especially those busy weeknights when you crave something special without the fuss. With its unique flavor, versatility, and relative ease of preparation, it’s poised to become a staple in your culinary repertoire. So fire up that grill, follow these simple steps, and get ready to enjoy one of the best grilled steaks you’ve ever made. Your taste buds (and your family) will thank you!